XTP Python Api 接口编译

XTP Python Api 接口编译

下载xtp官方提供的python接口: https://github.com/ztsec/xtp_api_python

简单介绍一下各个文件夹的作用(虽然里面有文档介绍了)

bin: 编译好的python接口和对应的demo

doc: 编译文档

source: 编译用到的代码

XTP_API_20200824_2.2.25.5: cxx xtp 接口

因为我不喜欢官方对python api的命名,所以我要自己改,然后重新编译

准备工作


doc 文件夹里有对应操作系统的编译文档,虽然不是很详细,但是也能看懂

我差不多把所有的 Python Api 都给修改了

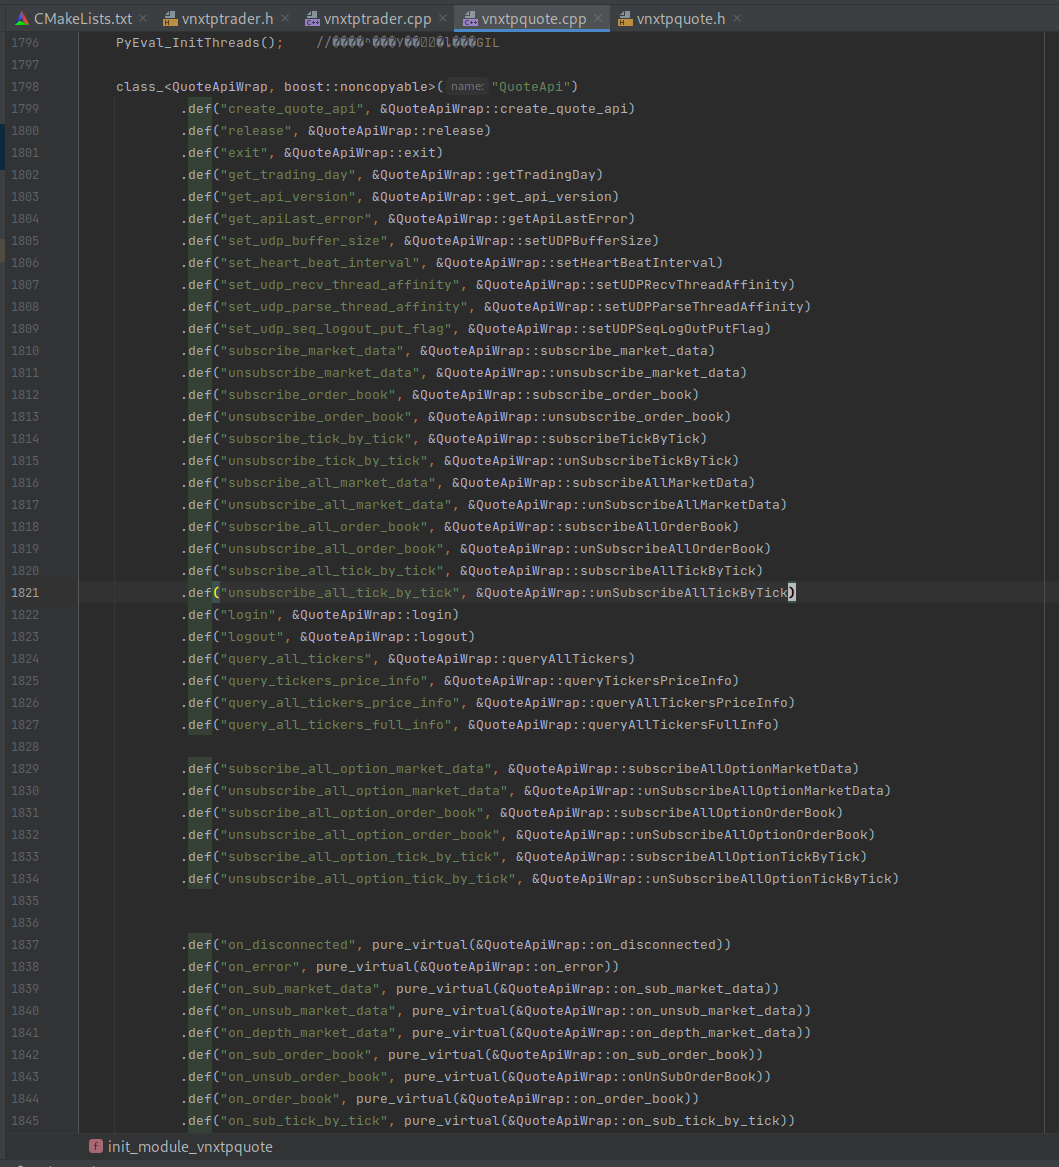
对于非回调函数,只需要修改其def的函数名即可,如果是回调函数,则需要将C++中对应的函数也给修改了,否则会找不到这个函数

编译 boost python

按照文档所说的,首先要编译一份 boost python,直接去boost官网下载最新的boost源码,然后只编译python版本的。

生成b2编译工具, 指定你python命令所在的路径, 如果你不知道的话可以用 where python 来找到

1
$ ./bootstrap.sh --with-libraries=/usr/bin/python3

然后编译.

toolset: 这里用的gcc,没试过可不可以用clang

include: 因为要用到Python.h,所以这里需要指定你在生成b2时设置的python对应的头文件路径,一般在你安装python的时候就会装好,如果没有装好,在ubuntu、debian系统你可以这样安装: sudo apt-get install python-dev -y

1
$ ./b2 --toolset=gcc-10.2.0 --with-python include="/usr/include/python3.9" --with-thread --with-date_time --with-chrono

不出意外就编译成功了,会在你stage文件夹里输出编译好的python lib

boost 这一步就算完成了

编译 xtp python

source 文件夹里有编译用到的源码,使用对应你系统版本的即可

编辑 CMakeLists.txt 修改几个地方

1、修改你python 的lib和头文件 所在目录,和上面编译boost时设置的一致

1
2
3
# 设置Python所在的目录
set(PYTHON_LIBRARY /usr/local/python389/lib/)
set(PYTHON_INCLUDE_PATH /usr/local/python389/include/python3.8/)

2、然后是boost配置,主要修改boost所在路径(BOOST_ROOT) 以及boost的版本(如find_package中的1.75.0),以及find_package中的python版本

1
2
3
4
5
6
7
8
# 链接boost库,anaconda /python3用的是python3.6没有用Anaconda
set(BOOST_ROOT )
set(Boost_USE_MULTITHREADED ON)
set(BOOST_ROOT /home/x2h1z/Downloads/boost_1_75_0_py389/)
find_package(Boost 1.75.0 COMPONENTS python3 thread date_time system chrono REQUIRED) # 如果boost库没有完全编译,需要将编译的库明确地指出,否者message(${Boost_LIBRARIES})会出错
if(Boost_FOUND)
include_directories(${Boost_INCLUDE_DIRS})
endif()

修改完cmake后,然后就直接编译

1
2
$ mkdir build && cd build
$ cmake .. && make - -j 8

不出意外就会在lib文件夹中输出编译好的so

如果出意外了,那么就是find_package中python版本不对,或者你Boost版本不对之类的

反正就这几个地方,一个个检查就行了

测试

然后就写个demo测试一下

1
2
3
4
5
6
7
8
9
10
11
12
13
14
15
16
17
18
19
20
21
22
23
24
25
26
27
28
29
30
31
32
33
34
35
36
37
38
39
40
41
42
43
44
45
46
47
48
49
50
51
52
53
54
55
56
57
58
59
60
61
62
63
64
65
66
67
68
69
70
71
72
73
74
75
76
77
78
79
80
81
import os
import sys
import time

from vnxtpquote import QuoteApi


CONFIG = {
"ip": "120.27.164.138",
"port": 6002,
"user": "",
"password": "",
"local_ip": "0",
"socket_type": 1
}


class MdApi(QuoteApi):

def __init__(self):
super(MdApi, self).__init__()

def on_disconnected(self, error_id: int):
pass

def on_error(self, error_info: dict):
pass

def sub_market_data(self, symbols: list[dict], exchange_id: int):
assert(exchange_id in [1, 2, 3])
self.subscribe_market_data(symbols, len(symbols), exchange_id)

def on_sub_market_data(self, ticker: dict, error_info: dict, is_last: bool):
if error_info is None or error_info['error_id'] == 0:
print(f"subscribe success tickers: {ticker}")
else:
print(f"subscribe error, id: {error_info['error_id']}, msg: {error_info['error_msg']}")

def on_depth_market_data(self, data: dict, bid1_qty_list: list, bid1_counts: int, max_bid1_count: int,
ask1_qty_list: int, ask1_count: int, max_ask1_count: int):
print(data)


if __name__ == '__main__':
md_api = MdApi()
md_api.create_quote_api(1, os.getcwd(), 4)

# 设置心跳检测时间间隔,单位为秒
md_api.set_heart_beat_interval(2)
# 设置采用UDP方式连接时的接收缓冲区大小
md_api.set_udp_buffer_size(128)
# 使用UDP接收行情时,设置接收行情线程绑定的cpu
md_api.set_udp_recv_thread_affinity(2)
# 使用UDP接收行情时,设置解析行情线程绑定的cpu
md_api.set_udp_parse_thread_affinity(2)
# 设定UDP收行情时是否输出异步日志
md_api.set_udp_seq_logout_put_flag(1)

s = md_api.login(CONFIG['ip'], CONFIG['port'], CONFIG['user'], CONFIG['password'], CONFIG['socket_type'], CONFIG['local_ip'])
if s != 0:
print(f"login failed, status:{s}", end=", ")
error = md_api.get_api_last_error()
print("error: ", error)
sys.exit(1)

api_version = md_api.get_api_version()
print(f"login success. api version: {api_version}")

# 因为不明原因,合在一起订阅没收到推送的行情
md_api.subscribe_market_data([{"ticker": "000300"}], 1, 1)
md_api.subscribe_market_data([{"ticker": "399905"}], 1, 2)
md_api.subscribe_market_data([{"ticker": "000016"}], 1, 1)

# sleep为了删除接口对象前将回调数据输出,不sleep直接删除回调对象会自动析构,无法返回回调的数据
try:
while True:
time.sleep(5)
except:
md_api.release()
sys.exit(1)

你只需要把编译好的so放在demo.py一起即可

你可能会疑惑,为什么python可以import so,那是因为编译的时候使用到了Python.h

最后

blog: https://zckun.github.io/

公众号: the2hcode